I had always intended to make each of these projects a single post. But since children currently take up most of my time, I'm just gonna get them all out of the way here. So here it comes, a whole lotta DIY.
Front Door
My front door was less than welcoming.
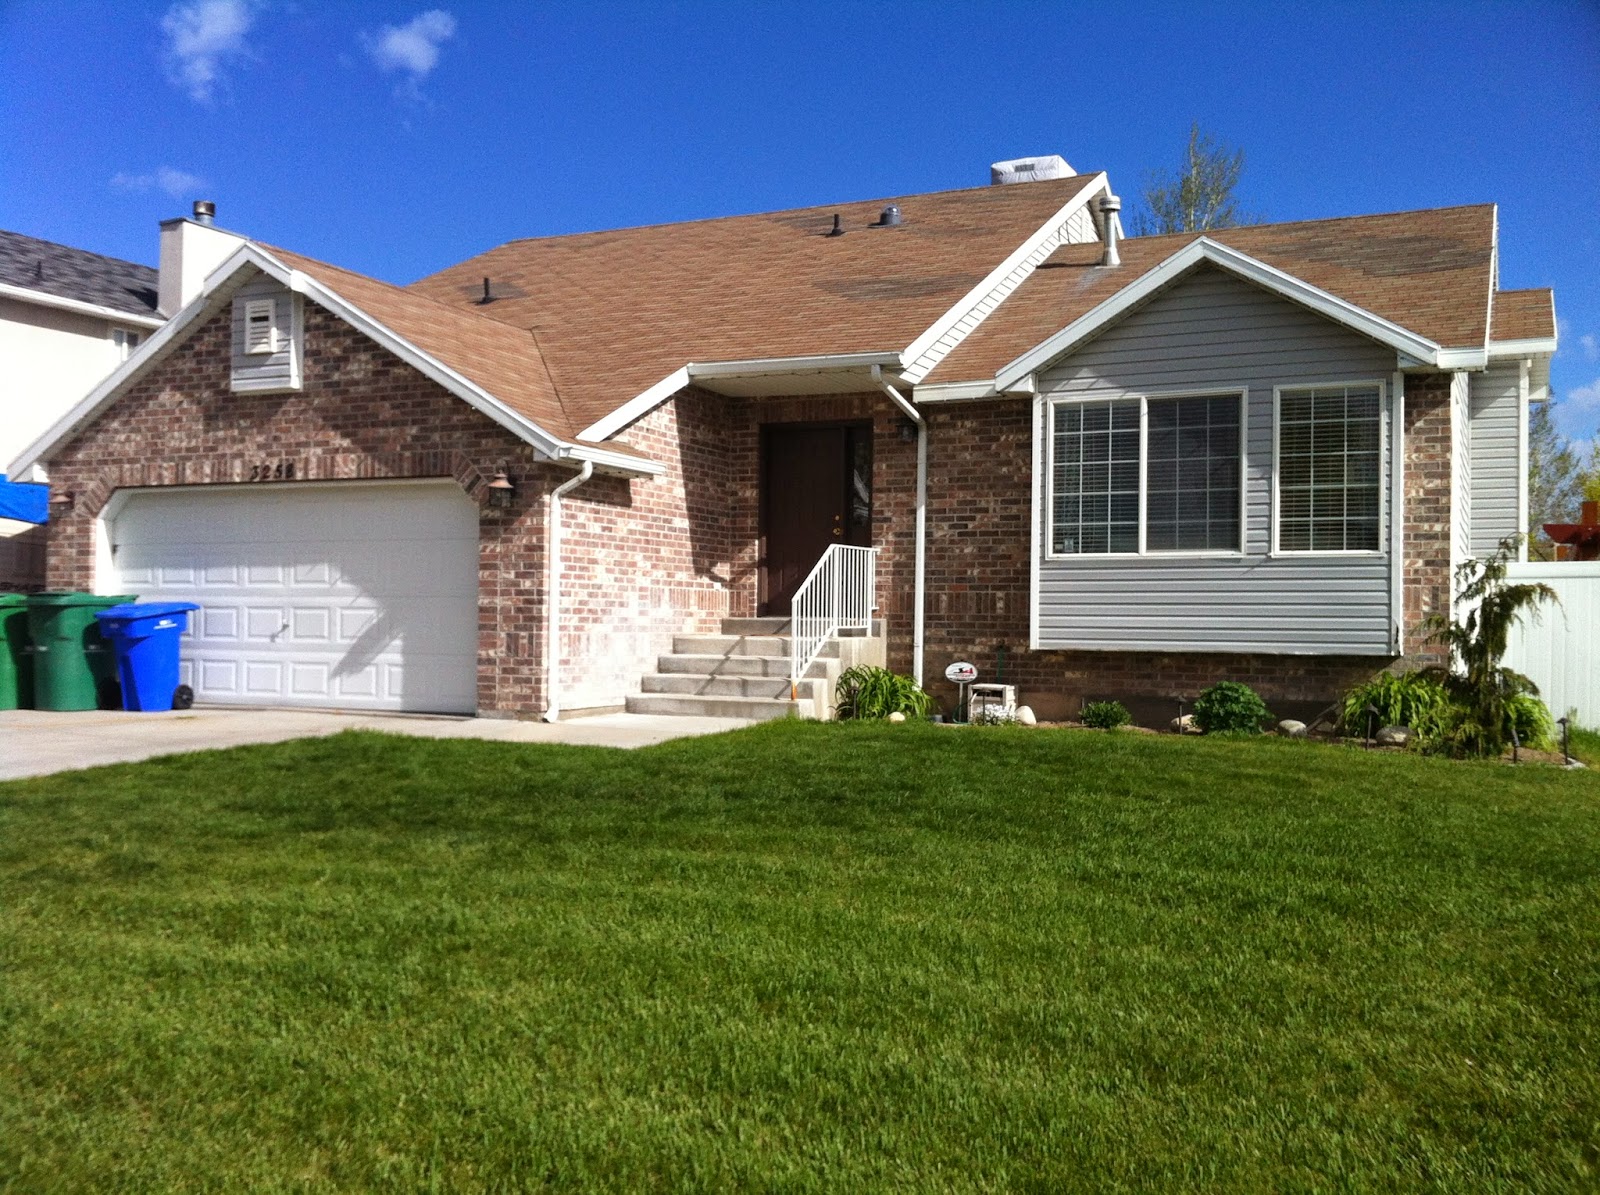
Like everything else in this house (the carpet, the cabinetry, the walls) the door and the door jamb were brown. A dark, depressing, soul-sucking brown.


Last spring I had finally had enough, so I set to work painting it a bright, happy color. I'm sorry to say that for about six weeks, it looked like this.

That's what being newly pregnant with twins will do to ya: Put everything else in your life on hold. But once I got over most of the morning sickness, Aaron took the door down and we finished the job. He also replaced the brass door handle for brushed nickel, and added a fancy knocker.

The color was mixed wrong and I had to go back to the store to get it fixed. When I came home with the wrong color AGAIN, I said forget it and just went ahead with the shade, a bit deeper and bolder than I had initially chosen. Still, it does the job. Welcome!

Dresser
A while ago my aunt and uncle were giving away some old furniture. I remembered this gorgeous dresser from when I was a child and jumped at the chance to take it home.

It has a stunning shape and beautiful details, but the poor thing had seen better days. Because the piece was not solid wood, sanding and re-staining it was sadly not an option.
But not to worry. I busted out the paint again and made it a happy mint green.

Here it is before the hardware, at home in the kitchen where it stood in for a sideboard or hutch and held table linens and the like.

And after the hardware, with a slightly different vignette adorning the top.

Now, it lives in my baby girls' room.

Pendant lights
While perusing a furniture store ages ago, I saw this fun and funky pendant light.

With a price tag north of $80, taking it home with me was out of the question. But the image stayed with me, so a few months — maybe even a year — later I came across these bird cages at a home decor store.

At just $10 apiece, I knew I could finally afford the pendant lights I had envisioned to hang above the kitchen island. I just had to convince my husband to get on board with the project, since I have no electrical knowledge and needed him to take things from there. Luckily, he's awesome and agreed.
We bought two pendant light kits from the hardware store at around $17 a piece, and a length of chain. The kitchen has dated track lighting already installed above the island, which I don't love.

But it actually turned out to be the easiest thing for this project, because the pendant light kits simply snap into the track.
Here's how we assembled the light: Aaron cut the top part off the cage to make room for the lights. He spray painted the cord and the chain black to match the cage, then threaded the cord through the chain. He attached the pendant to the top of the cage, then we added Edison bulbs. He plugged the light into the track, and voila!


Light!

It almost makes me forget about the golden oak cabinets that one day I WILL paint white. One day...


Rustic Mirror
For the longest time I had this mirror, long and plain and boring. Probably a relic from my dorm days. I don't have a before photo, but it looked a little something like this, minus the frame.

Spray painting the carriage bolts...

And the flat L-brackets.
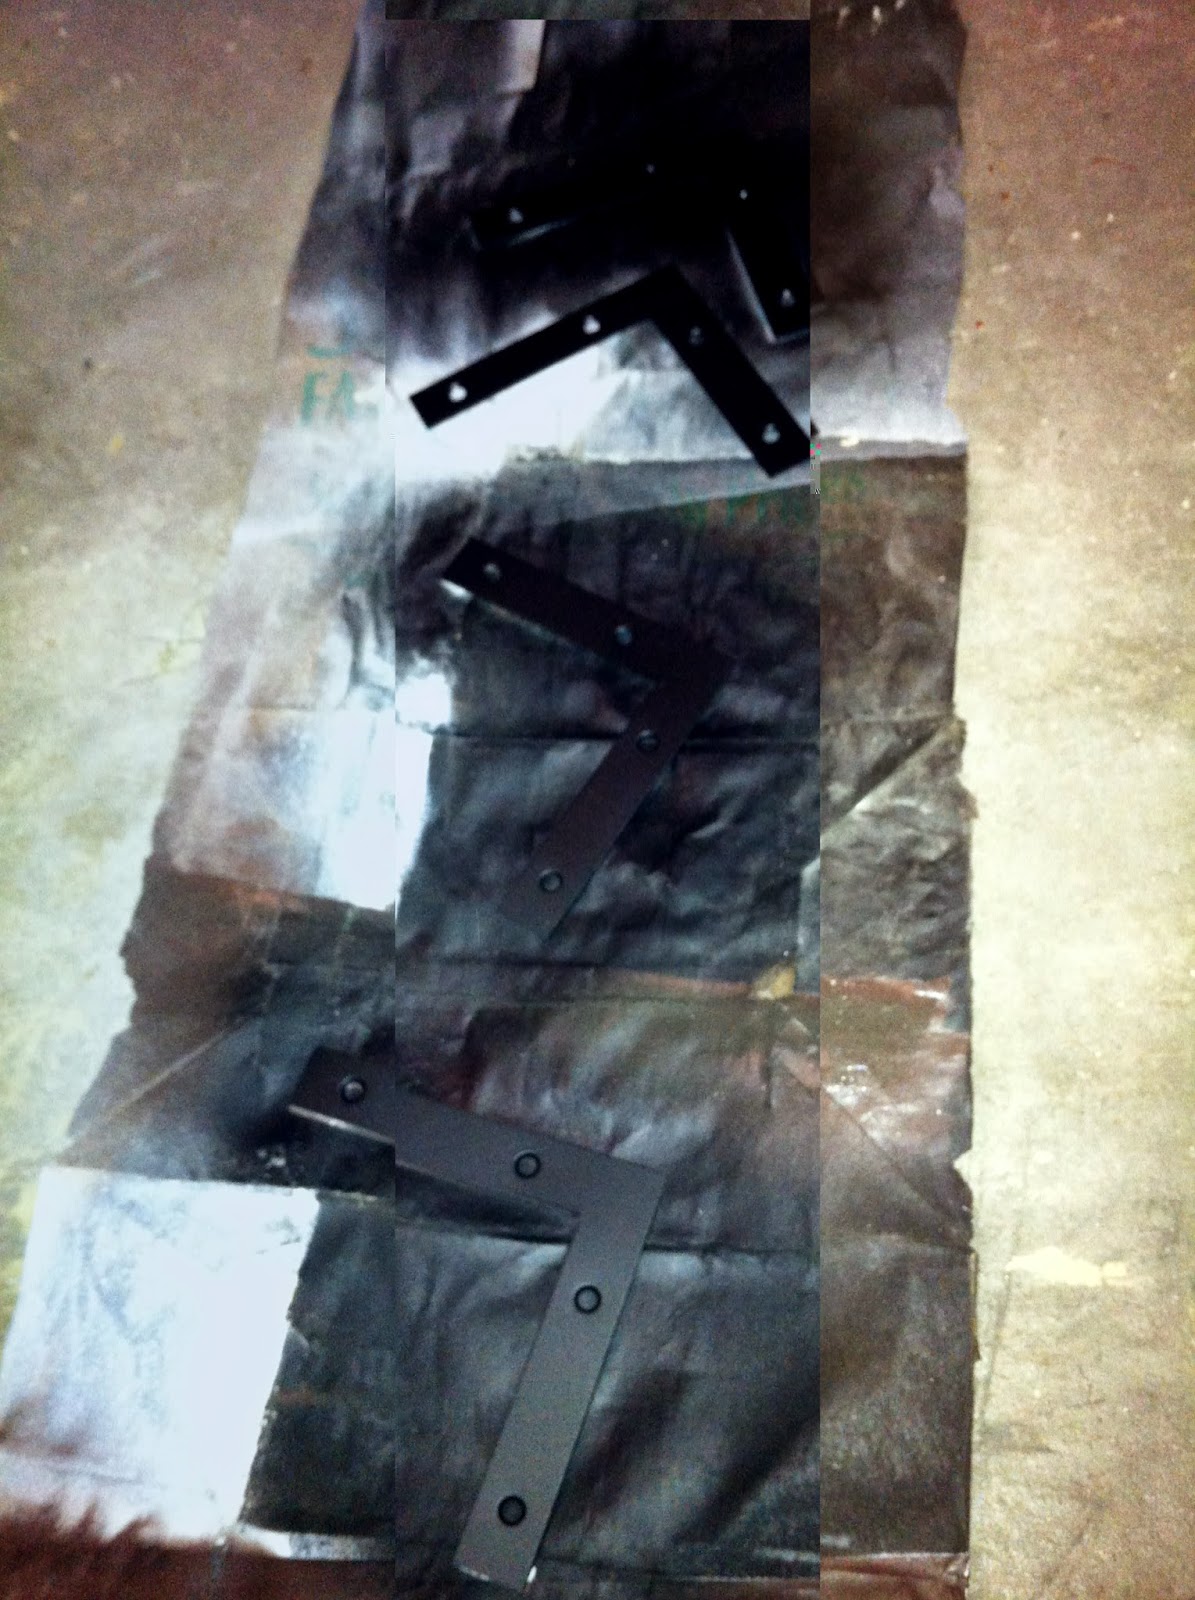
He distressed and stained the wood for the frame, cut it to size, and attached it to the mirror using more flat brackets.


Behold, the finished product:
(Pardon my poor camera work, but how do you photograph a mirror decently?)


Master Bedding
Remember the stunning pallet wall my husband installed a few years ago?

I absolutely love it, but the bedding was just not doing it any justice. I adore the faux fur bedspread, but with the new wall it just added to the sea of brown that covers my house. I tried to mix things up with various pillows, but I just couldn't figure out how to get away from that awful brown.

At least Evan liked the bed.

(Look how little he is! And I never thought I'd miss that blasted binky on his cute little face.)
I even bought some ikat hexagon fabric I loved, which matched the wall ... just a little too well. The brown was too much.

And then I found this. I'm no camo-loving hunter by any means, but this stag print spoke to me. It struck me as sort of funny, though I'm not sure why. So I took a total departure from the brown.

I enlisted the help of my talented grandmother, who sewed some new pillow shams to go with the green bedspread I bought for a steal.

And now I LOVE my master bed!!
(Psst, notice the bench? It's the sister to the mint green dresser, only in its original state. We got the best of both worlds.)
That's it for today's DIY roundup, which was three years in the making. There's only one more before-and-after to share: the twins' nursery. It's a big one, so I'll save that for another day.
Hi Lindsay! I'm Heather and I just have a quick question about your blog! Please email me at Lifesabanquet1(at)gmail(dot)com :-)
ReplyDelete